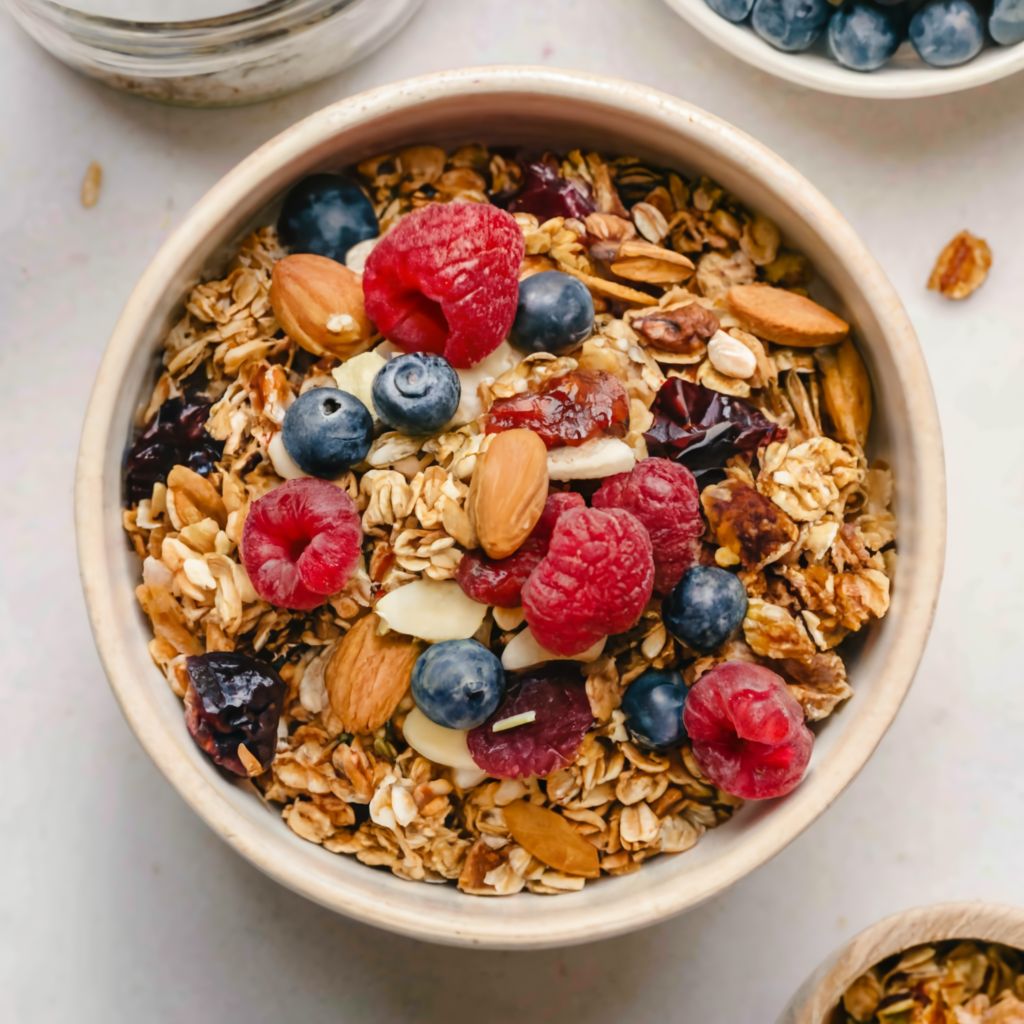
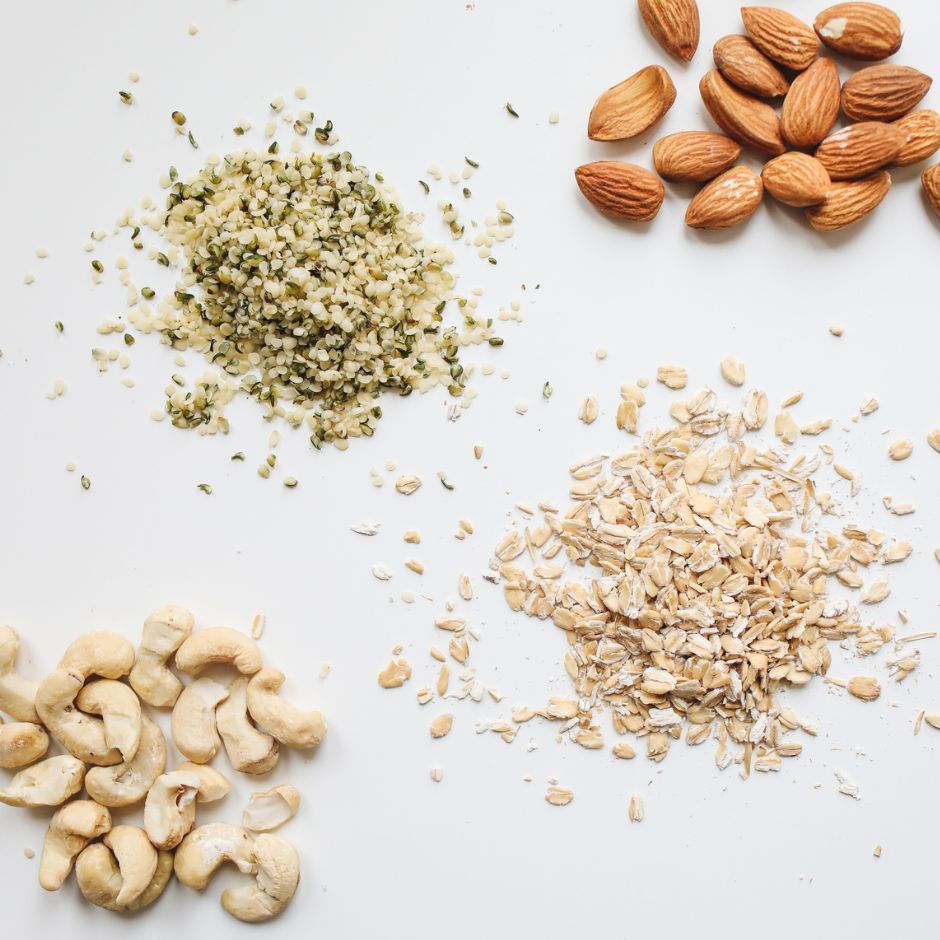
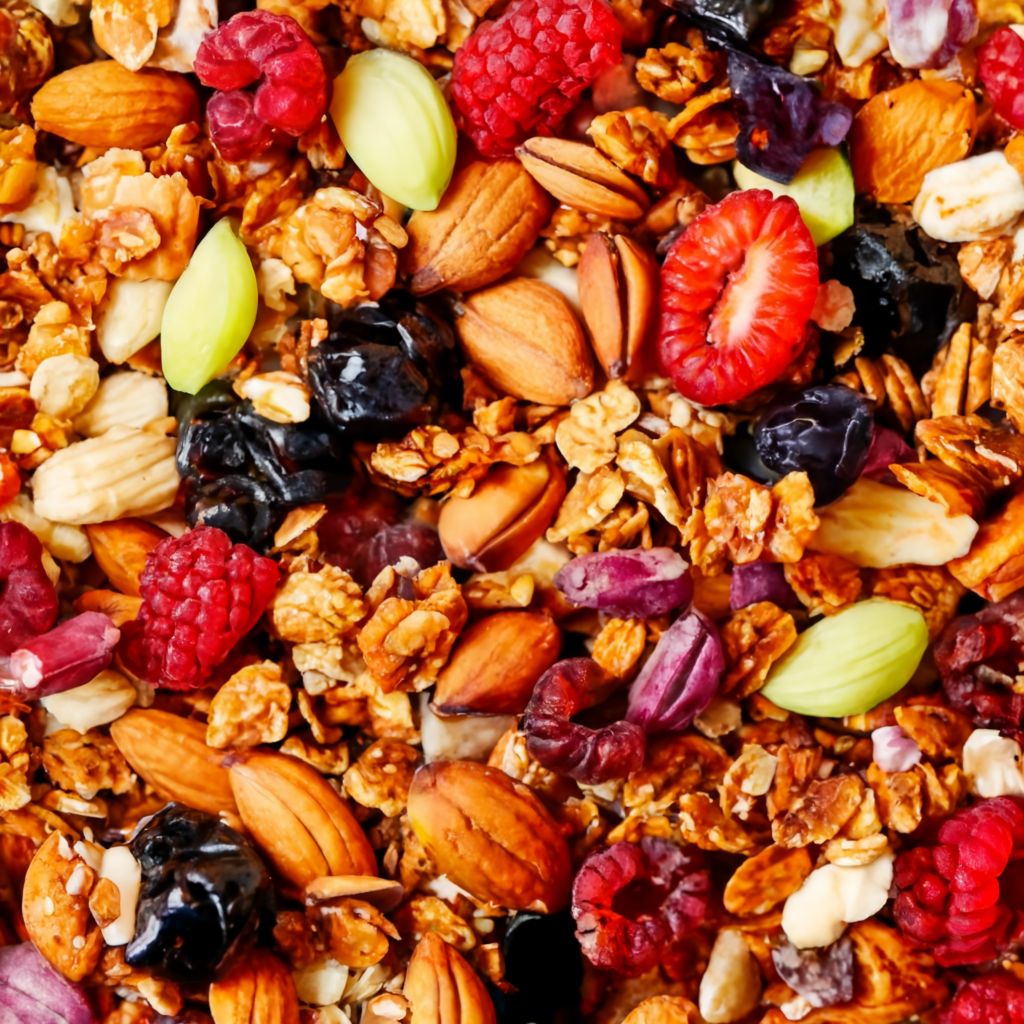
This granola recipe is easy to make and requires only a few basic ingredients. You can customize it with your favorite nuts, seeds, dried fruits, and spices. The texture of this granola is crunchy and chunky, thanks to the honey and coconut oil that help it stick together. The season for this granola is all year round, as you can use any dried fruits you like or have on hand. The main ingredients are oats, honey, coconut oil, cinnamon, and salt. The best combo to enjoy this granola is with some Greek yogurt and fresh berries, or simply with some almond milk. This granola is a nutritious and delicious breakfast or snack that will keep you full and satisfied.
Tips and Tricks for How to Make Granola Crunchy
- Use Fresh Ingredients: Opt for fresh nuts, seeds, and dried fruits to ensure the best flavor and texture in your granola.
- Evenly Coat Ingredients: Make sure to thoroughly mix the wet ingredients with the dry ingredients to ensure every oat, nut, and fruit is coated for even flavor and crunch.
- Adjust Sweetness: Taste the wet mixture before adding it to the dry ingredients and adjust the amount of honey or maple syrup according to your preferred level of sweetness.
- Spread Evenly: Spread the granola mixture evenly on the baking sheet to promote even baking and prevent clumping.
- Don’t Overcrowd: Avoid overcrowding the baking sheet to allow air circulation, which helps the granola crisp up evenly.
- Stir Carefully: Stir the granola gently during baking to prevent breaking up any clumps that may form. Aim to stir just enough to ensure even browning.
- Cool Completely: Let the granola cool completely on the baking sheet after baking. This allows it to crisp up further and develop its signature crunchy texture.
- Customize Flavors: Experiment with different spices, extracts, and add-ins to customize the flavor of your granola. Popular options include cocoa powder, almond extract, or shredded coconut.
- Monitor Closely: Keep a close eye on the granola towards the end of the baking time to prevent it from burning. It can go from golden brown to burnt quickly.
- Store Properly: Store the cooled granola in an airtight container at room temperature to maintain its crispiness. Avoid storing it in humid environments to prevent it from becoming soggy.
- Serve Creatively: Granola is incredibly versatile and can be enjoyed in various ways. Get creative with how you serve it by incorporating it into parfaits, trail mixes, or even as a topping for salads or roasted vegetables for added crunch and flavor.
- Make Ahead: Granola is perfect for meal prep. Make a big batch ahead of time and portion it out into individual servings for quick and easy breakfasts or snacks throughout the week.
Finally, I request you to check my other Fudgy brownie with this post of How To Make Granola Crunchy. Particularly, the Natural peanut butter and Red velvet cupcakes.

How to make Granola Crunchy with just one easy step! You won’t believe how simple it is!
Description
I have a fond memory of making granola with my mom when I was a kid. She taught me how to mix the oats, honey, coconut oil, and cinnamon in a big bowl, and how to spread it evenly on a baking sheet. She also let me choose the dried fruits that I liked, such as cranberries, apricots, and raisins. We would bake the granola until it was crunchy and golden, and then we would enjoy it together with some milk or yogurt. Now I make granola with my own kids and family, and they love it as much as I do. It’s a simple and wholesome recipe that brings us closer.
Ingredients
Basic Ingredients
Equipment:
Instructions for Crunchy Granola
Step-by-Step Guide for How to Make Granola Crunchy
-
Preheat and Prepare
- First, Preheat your oven to 300°F (150°C).
- Line a large baking sheet with parchment paper or a silicone baking mat.
-
Mix Dry Ingredients
Next, In a large mixing bowl, combine the rolled oats, chopped nuts, seeds, and dried fruits. Stir well to combine.
-
Prepare Wet Ingredients
In a separate bowl, whisk together the honey or maple syrup, melted coconut oil, cinnamon, salt, and vanilla extract if using until smooth and well combined.
-
Combine Wet and Dry Ingredients
Pour the wet ingredients over the dry ingredients in the large mixing bowl. Use a spatula or wooden spoon to thoroughly coat the dry ingredients with the wet mixture. Make sure everything is evenly coated.
-
Spread on Baking Sheet
Spread the granola mixture evenly onto the prepared baking sheet. Use a spatula to press it down slightly to encourage clumping.
-
Bake
Place the baking sheet in the preheated oven and bake for 30-40 minutes, stirring every 10-15 minutes to ensure even baking. Keep an eye on it towards the end to prevent burning.
-
Cool and Store
- Once the granola is golden brown and crisp, remove it from the oven and allow it to cool completely on the baking sheet. It will continue to crisp up as it cools.
- Once completely cooled, transfer the granola to an airtight container or mason jar for storage. It will keep well at room temperature for up to two weeks.
-
Enjoy!
Serve your homemade crunchy granola with Greek yogurt and fresh berries, or enjoy it simply with almond milk for a nutritious and delicious breakfast or snack. Experiment with different combinations of nuts, seeds, and dried fruits to customize it to your taste preferences. Enjoy!
Servings 6
- Amount Per Serving
- Calories 320kcal
- % Daily Value *
- Total Fat 15g24%
- Saturated Fat 8g40%
- Sodium 120mg5%
- Potassium 235mg7%
- Total Carbohydrate 42g15%
- Dietary Fiber 5g20%
- Sugars 17g
- Protein 7g15%
- Vitamin C 0.99 mg
- Calcium 39 mg
- Iron 2 mg
- Vitamin E 1.99 IU
- Vitamin K 1 mcg
- Thiamin 0.2 mg
* Percent Daily Values are based on a 2,000 calorie diet. Your daily value may be higher or lower depending on your calorie needs.
Note
-
Ingredient Substitutions: Feel free to customize this recipe based on your preferences and dietary restrictions. You can substitute the nuts, seeds, and dried fruits with your favorites or whatever you have on hand.
-
Sweeteners: While the recipe calls for honey or maple syrup, you can also use other liquid sweeteners like agave syrup or brown rice syrup. Adjust the amount according to your desired level of sweetness.
-
Oil Options: Coconut oil adds a delicious flavor to the granola, but you can also use other oils such as olive oil or melted butter if preferred.
-
Baking Time: Keep an eye on the granola while it's baking to prevent it from burning. Stirring every 10-15 minutes ensures even baking and helps achieve a golden brown color.
-
Cooling and Storage: Allow the granola to cool completely on the baking sheet before transferring it to an airtight container. This helps it retain its crunchy texture. Store the granola at room temperature for up to two weeks.
-
Customization: Experiment with different spices such as nutmeg or cardamom for added flavor. You can also toss in some shredded coconut or chocolate chips for extra indulgence.
-
Serving Suggestions: Enjoy this granola with Greek yogurt and fresh berries for a nutritious breakfast or snack. Alternatively, serve it with almond milk or as a topping for smoothie bowls or ice cream.
-
Meal Prep: Make a big batch of granola and portion it out into individual servings for quick and easy breakfasts or snacks throughout the week. It's a convenient and healthy option for busy mornings or on-the-go snacking.
-
Versatility: This granola recipe is versatile and can be adapted to suit various dietary preferences, including vegan and gluten-free diets. Just make sure to use certified gluten-free oats if needed.
-
Have Fun: Don't be afraid to get creative and experiment with different flavor combinations. Making homemade granola is a fun and rewarding culinary experience, so have fun and enjoy the process!


